How to solder wires to connectors primarily depends on wire thickness and the type of connector pins.
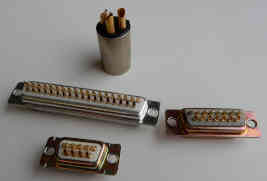
Soldering cup-style pins within a connector is usually a difficult task since the soldering should be done within a very small space. The spacing between pins is often 0.1” (2.54 mm) and there are several pins in two rows.
There is so little space around pins that, if you don’t pay enough attention, the hot soldering iron can burn insulation on wires or melt the solder on adjacent pins and make a short connection
Connectors with cup-type pins are very common connectors.
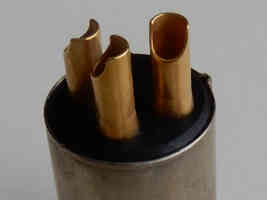
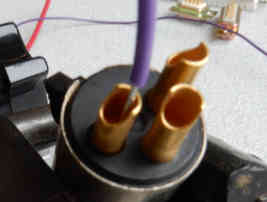
The cup-style pin is a hollow cylinder, into which the wire is inserted and then soldered without any additional mechanical connection.
Soldering audio connectors is a bit easier since they have only a few pins (usually three pins) and the pins are bigger.
Wires may enter these connectors only in one direction – from the top.
The diameter of the wire should be smaller than the inner diameter of the pin - otherwise, it would be impossible to insert a wire into the pin.
The stranded wire should be twisted with fingers before inserting it into the pin. Don’t cut any stray strand of stranded wire since it will decrease the conductivity of the wire.
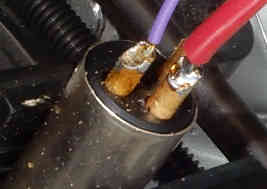
When soldering wires to this cup-type of pins on connectors you should apply just the right amount of solder. If you use too much solder it will spill around the pin. This may bridge two adjacent pins causing a short circuit.
How to Solder Wires to Pins
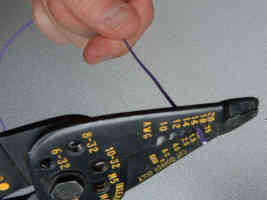
First, the insulation from the end of the wire should be removed.
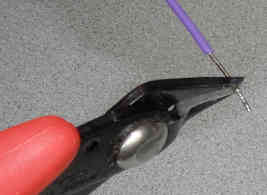
Use wire strippers and remove about 1/4“ (6.3 mm) of insulation.
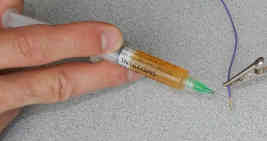
Next, the wire should be tinned.
Tinning wire is the process of coating it with a thin layer of solder. Tinning makes the wires easier to solder.
Use a helping hand tool to hold the wire.
Apply a little bit of rosin flux on the wire.
Touch the exposed end of the wire with a tip of soldering iron.
Flux will melt and flow around the exposed end of the wire.
The flux melts at a lower temperature than solder.
There will be some smoke coming from the flux when it starts to melt.
That is the reason why it is always recommended to solder in a well-ventilated area or, at least, to use a portable bench-top fume absorber.
After a couple of seconds, when the wire is hot, apply solder at the point of contact between the iron and the wire (not directly on the tip of the soldering iron).
When soldering wires to connectors we are dealing with thin wires because only thin wires can be inserted into pins, and therefore we are using solder wire with a medium diameter for soldering and tinning wires.
For tinning thicker wires you should use a solder wire with a bigger diameter.
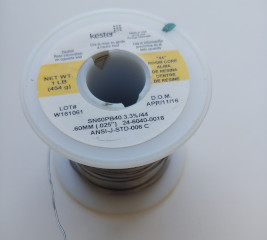
Solder wire is an alloy of tin and lead.
The majority of solder wires have flux in their core.
In this guide, we are using 60/40 solder wire (60 % tin and 40 % lead) with rosin flux in its core. The diameter of this solder wire is is 0.025” (0.6mm).
Some types of wire have insulation with very poor thermal stability so their insulation may shrink back a little bit caused by the heat of soldering iron during the tinning process. This may happen no matter how careful you are.
Insert tinned wire end into the pin and measure the correct length of wire end.
Cut off the excess of wire end. The wire is trimmed to correct pin length when it is flush with the top of the pin. inserted).
In addition, provide the proper insulation clearance. Insulation clearance is space between the top of the pin and the beginning of the insulation on the wire (when the wire is fully inserted into the pin). The length of the insulation clearance should be from one to two diameters of the wire.
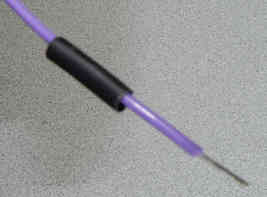
Before soldering, insert a piece of heat-shrink tube on the wire.
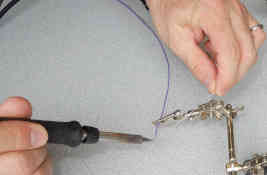
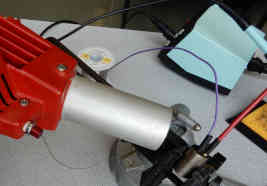
Use a small vise or another holder to hold the connector. You will hold the soldering iron in one hand, the wire in the other hand, so you should have some kind of helping tool to hold the connector.
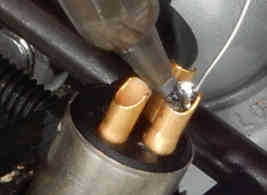
Place the tip of the soldering iron to the pin of the connector in a way that maximizes the contact between them.
After a couple of seconds, the pin should be hot enough to melt the solder. Apply a small amount of solder to the pin.
All surfaces inside the pin should be covered with a thin layer of solder. This is a situation when the diameter of the wire is just a little bit smaller than the inner diameter of the pin.
If the diameter of the wire is significantly smaller than the inner diameter of the pin, then the cup of the pin should be filled with more solder.
Inside of the pin should be enough solder to surround the wire inserted in. Don’t fill the entire pin with solder since molten solder will overspill once the wire is pushed in.
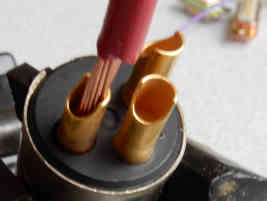
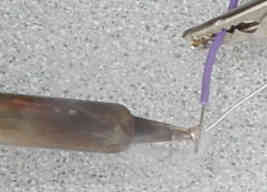
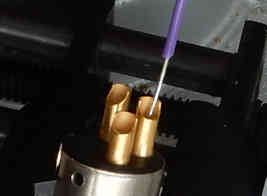
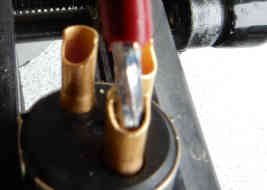
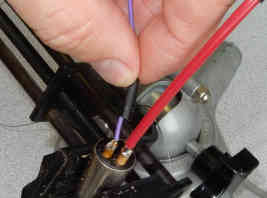
Continue holding the tip of the soldering iron on the pin and quickly insert the wire. Push the wire in the pin until the wire’s insulation is flush to the end of the pin. Hold the wire in place against the inside surface of the pin.
If the wire is not properly pre-tinned, it may draw part of the solder into empty strands from the surface of the pin. Add a little bit of solder, if needed, just to fill any empty space inside of the pin. If you have enough space between pins start sliding soldering iron along the pin to evenly heat the entire pin area.
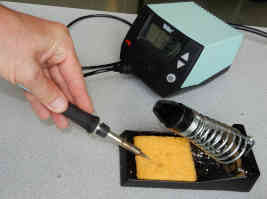
Remove the soldering iron from the pin and wipe off excess solder or flux with a moist sponge. Place soldering iron in the stand. The soldering iron should always be kept in a proper iron stand when not in use. Never leave a soldering iron on a workbench.
After few seconds, the solder will solidify and cool down. The soldering joint should be bright and shiny. However, when soldering to pins of connector which have been gold-plated, the soldering joint may look like a frosty gray surface because gold may alloy in the soldering joint.
Heat shrink insulates electrical connection but it does not seal it. The heat-shrink is not waterproof.
Slide heat shrink tube over the solder joint and apply heat with a heat gun.
Connectors are used to connect different parts of an electrical circuit. They are used for making connections in electrical circuits in aircraft, truck, boat, etc. Connectors used for wiring in the automotive industry are different than connectors used in marine applications.
The connection between wire and connector is much better when you solder a wire to pin than when you crimp wire using a crimping tool.
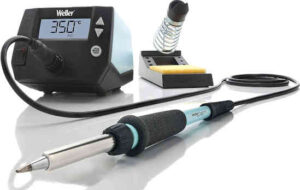
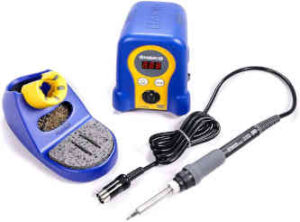
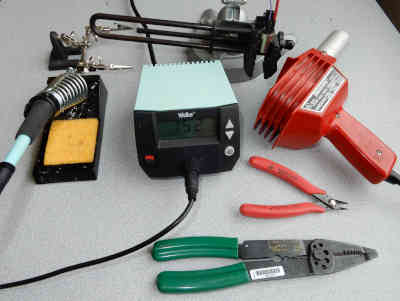
Tools used in this “How to solder wires to connectors” guide: